1. Start with a clear subject
Choose a photo or illustration where the main shape remains clear when viewed small. A close crop works better than a busy background: tiny text, thin lines, and subtle shadows can disappear when each cell becomes one bead. Beadloom accepts PNG, JPG, and WebP images.
Try this: crop around one person, pet, or object first. You can compare that version with the full photo before committing to a larger board.
2. Set the grid before polishing colors
Upload your image in the workbench, or open the landscape sample to see the controls immediately. Choose a pattern size and then check width, height, and board size. A bigger grid can keep more detail, but it also means more beads and more board sections to assemble.
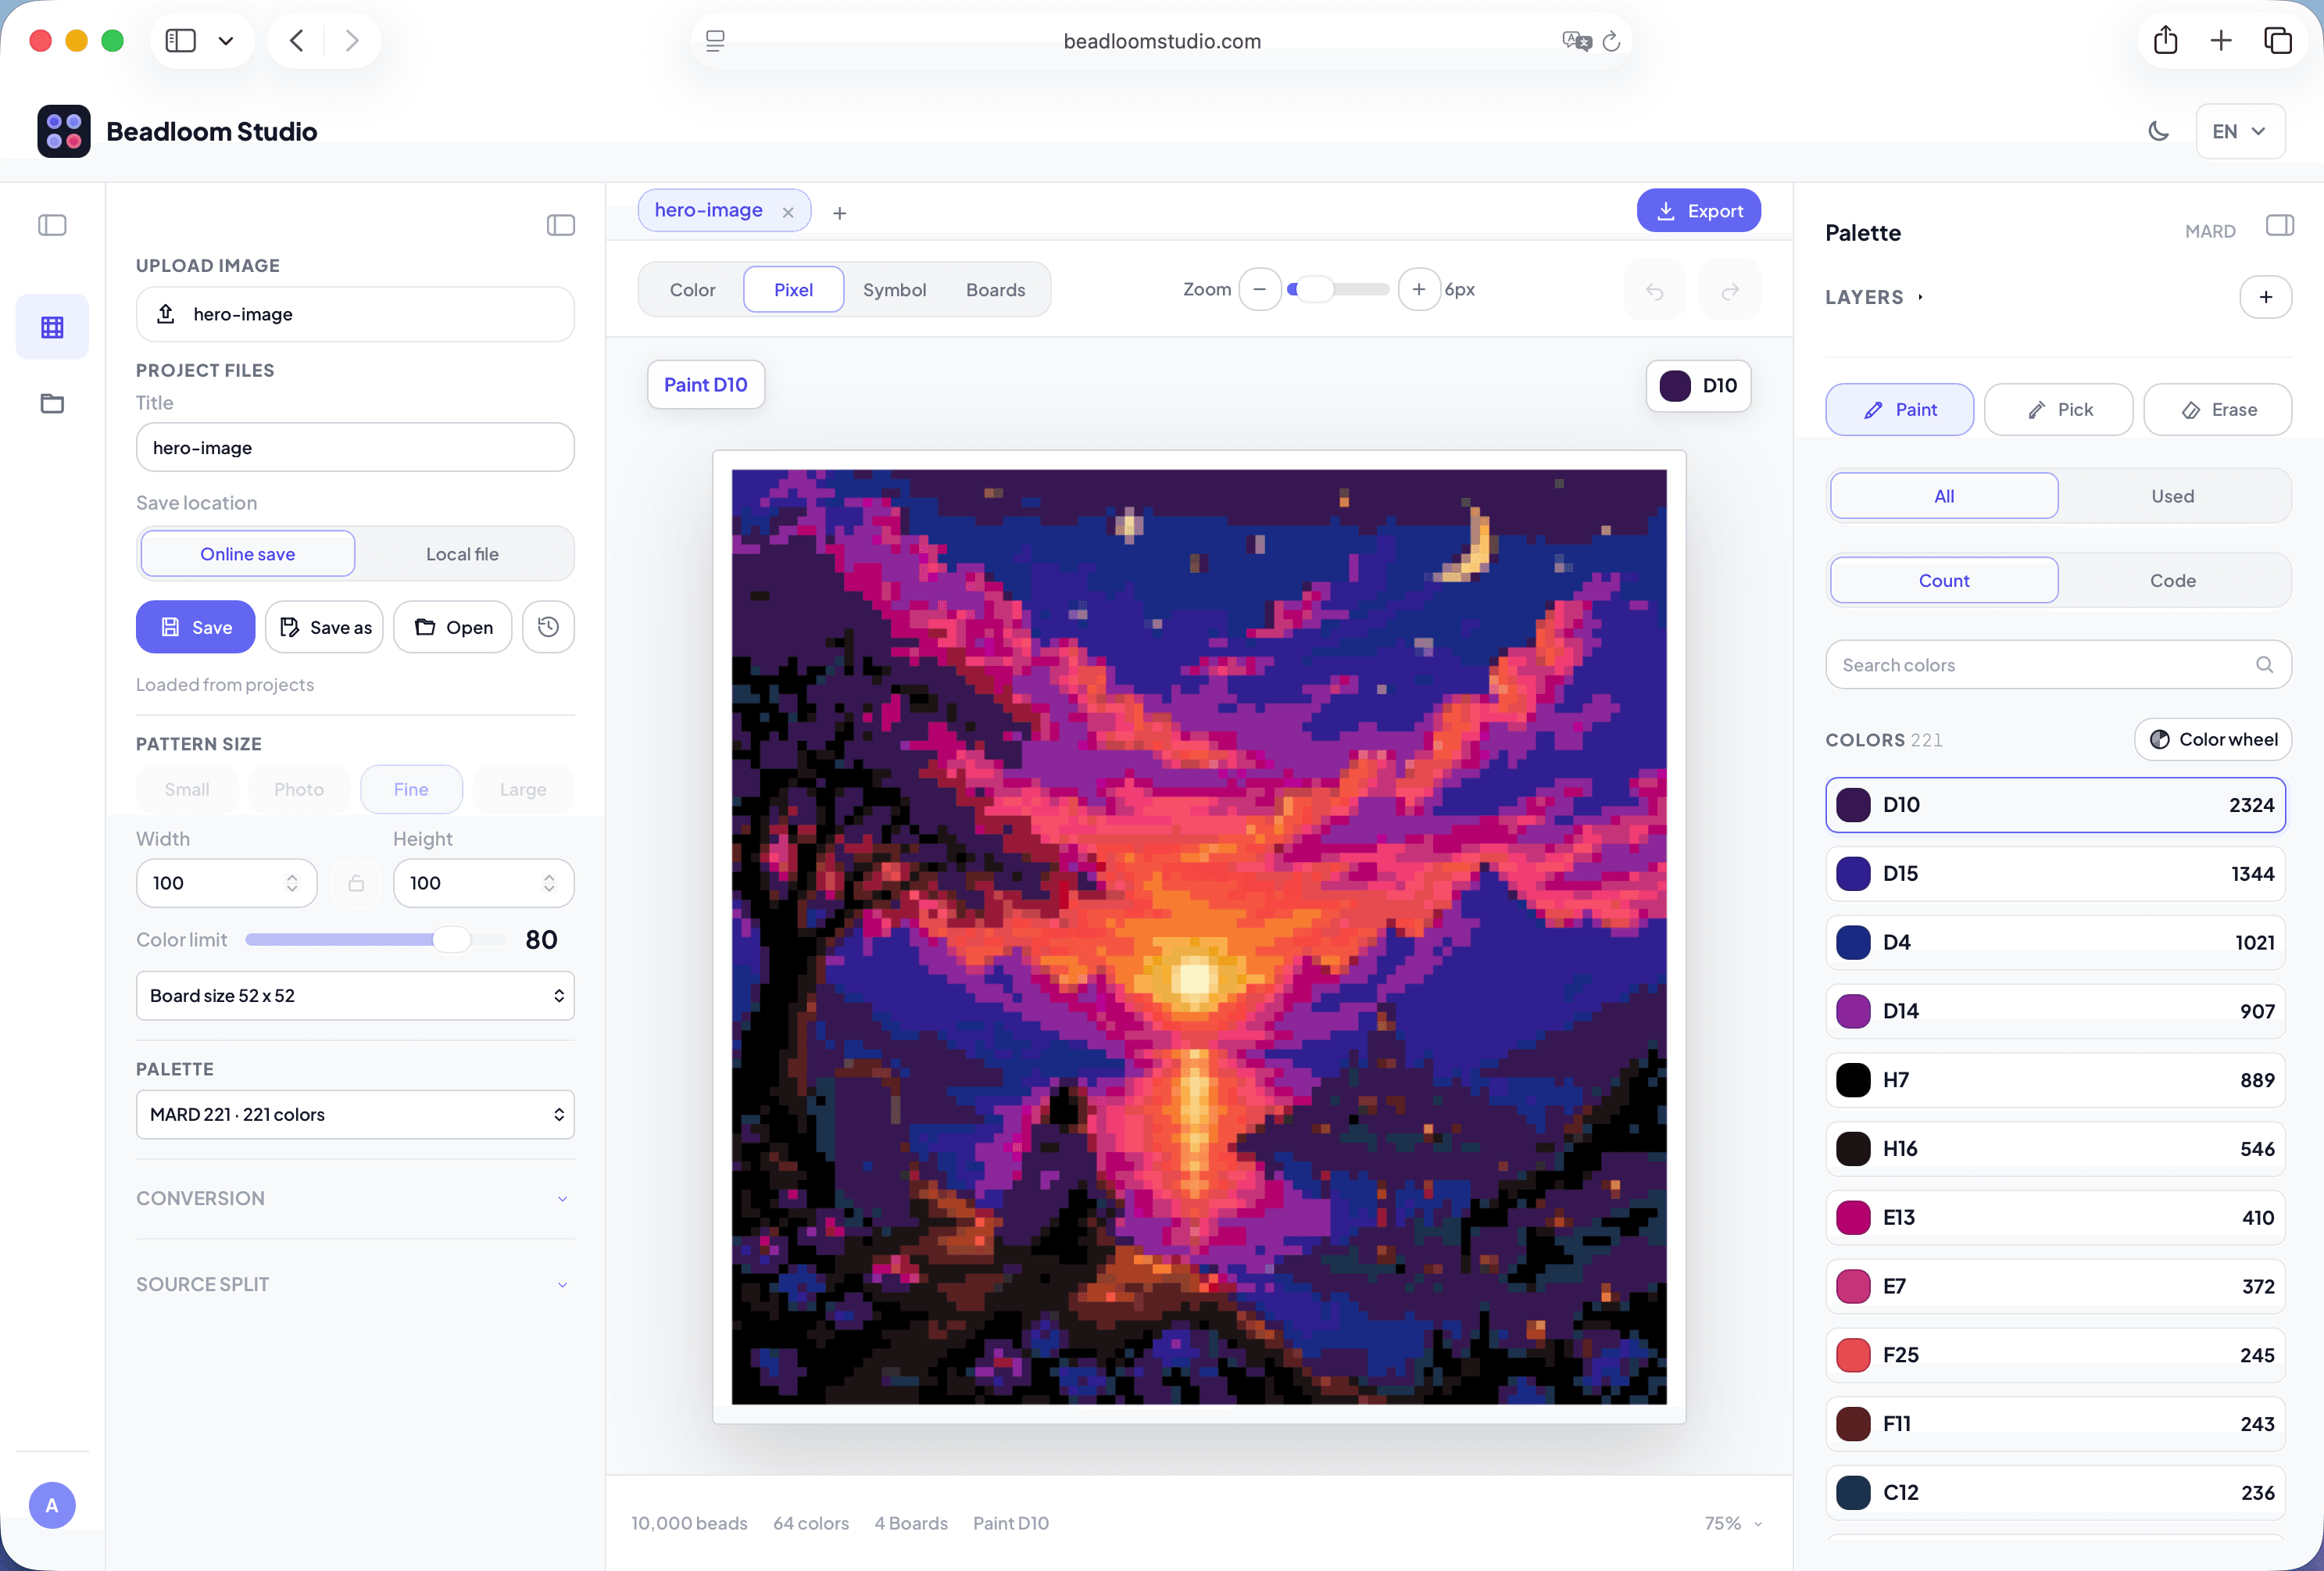
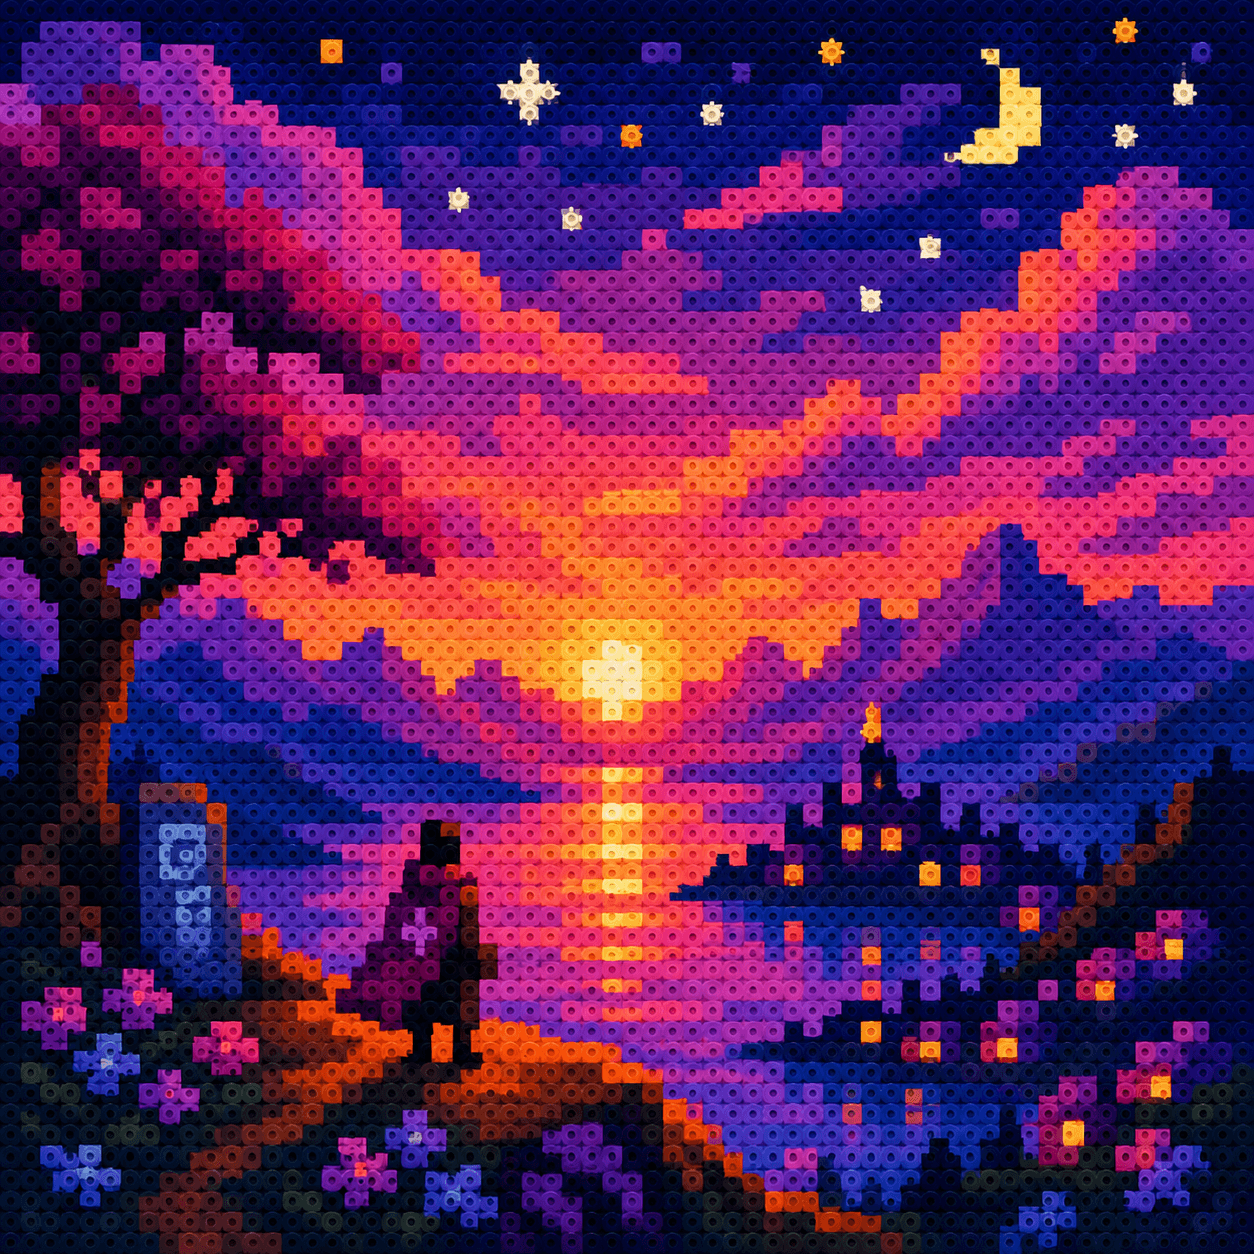
The pictured sunset uses a 100 × 100 grid: 10,000 filled cells across four 52 × 52 board sections. Use the Boards view to check how your own design splits before editing individual beads.
3. Reduce colors, then repair important details
Adjust the color limit and inspect the palette. Fewer colors can make sorting and shopping easier, but an aggressive limit may flatten a face or remove a highlight. Compare the result at normal viewing size, then use the paint, pick, and erase tools to repair the details that make the subject recognizable.
In the sunset example, the workbench reports 64 used colors. That is a result of this particular image and settings, not a recommended target for every project.
4. Check the guide before you build
Review the pattern in the pixel, symbol, and board views. Check the used-color list and bead counts, especially where board edges meet. You can experiment before registering; signing in is required to save or export. Free includes a watermarked PNG guide, while Pro offers watermark-free PNG and PDF exports.
Save the version you intend to build, then keep the exported guide beside your physical boards so you can check colors and section boundaries as you work.